Showing posts with label Teeny Tiny Wishes. Show all posts

Thursday, 10 October 2013

Monthly card class - October

Tonight was my monthly card class, and this time I did a mixture of Christmas and non-Christmas projects!

The first card uses the Starburst/Sunburst technique - a great way of using up scraps of patterned papers. These papers are the Season of Style Designer Series from the Autumn/Winter catalogue.


The second card features the 'For the Birds' stamp set.  The ladies had free choice of all the stamps in the set, but they all chose the Christmas bird!


These were stamped with black stazon ink (a permanent ink) onto watercolour card, and then coloured using the aqua pens and ink.


The next card really got us into the festive spirit!! This uses the Festive Flurries stamp set which I have fallen in love with and can't stop using! We heat embossed some of the snowflakes with silver embossing powder to make them shine, and the rhinestones in the centres add a bit more sparkle!


Lastly we made a love bird card and I let the ladies choose their sentiment.  I thought this would be great for an Anniversary, Engagement, Wedding or just for someone you love!


The birds are punched out from the Natural Composition Speciality papers.


This month's cake was Delia's spiced apple muffin cake with pecan streusal topping, warm from the oven and made with apples from the tree in my garden!

Kylie x

Sunday, 16 June 2013

Happy Father's Day!

Hope you're all having a lovely Sunday, and hope all the dad's are getting spoilt a bit!  Hopefully the weather will hold out for some nice walks or BBQs!

Today I am sharing the cards I did for my recent card class which was themed 'For the Boys'.  I let the ladies choose the sentiments on each card so they could make father's day cards, birthday cards or anything they wanted.

The first card uses the Open Sea stamp set and a technique I learnt from Lynn Fahey at our regional training event in Telford last month to make the watercolour-wash effect background. I don't know if this technique actually has name but it involves marker pens or ink pads, an acrylic block and a water spray bottle and it is so much fun! I was going to explain how it was done but I've just found a video on Lynn's blog so do check it out!


Products used:
Stamps: Open Sea
Ink: Early Espresso, Marina Mist, Crumb Cake
Markers: Marina Mist, Island Indigo, Not Quite Navy
Card stock: Early Espresso, Marina Mist, Whisper White
Other: Early Espresso Bakers Twine

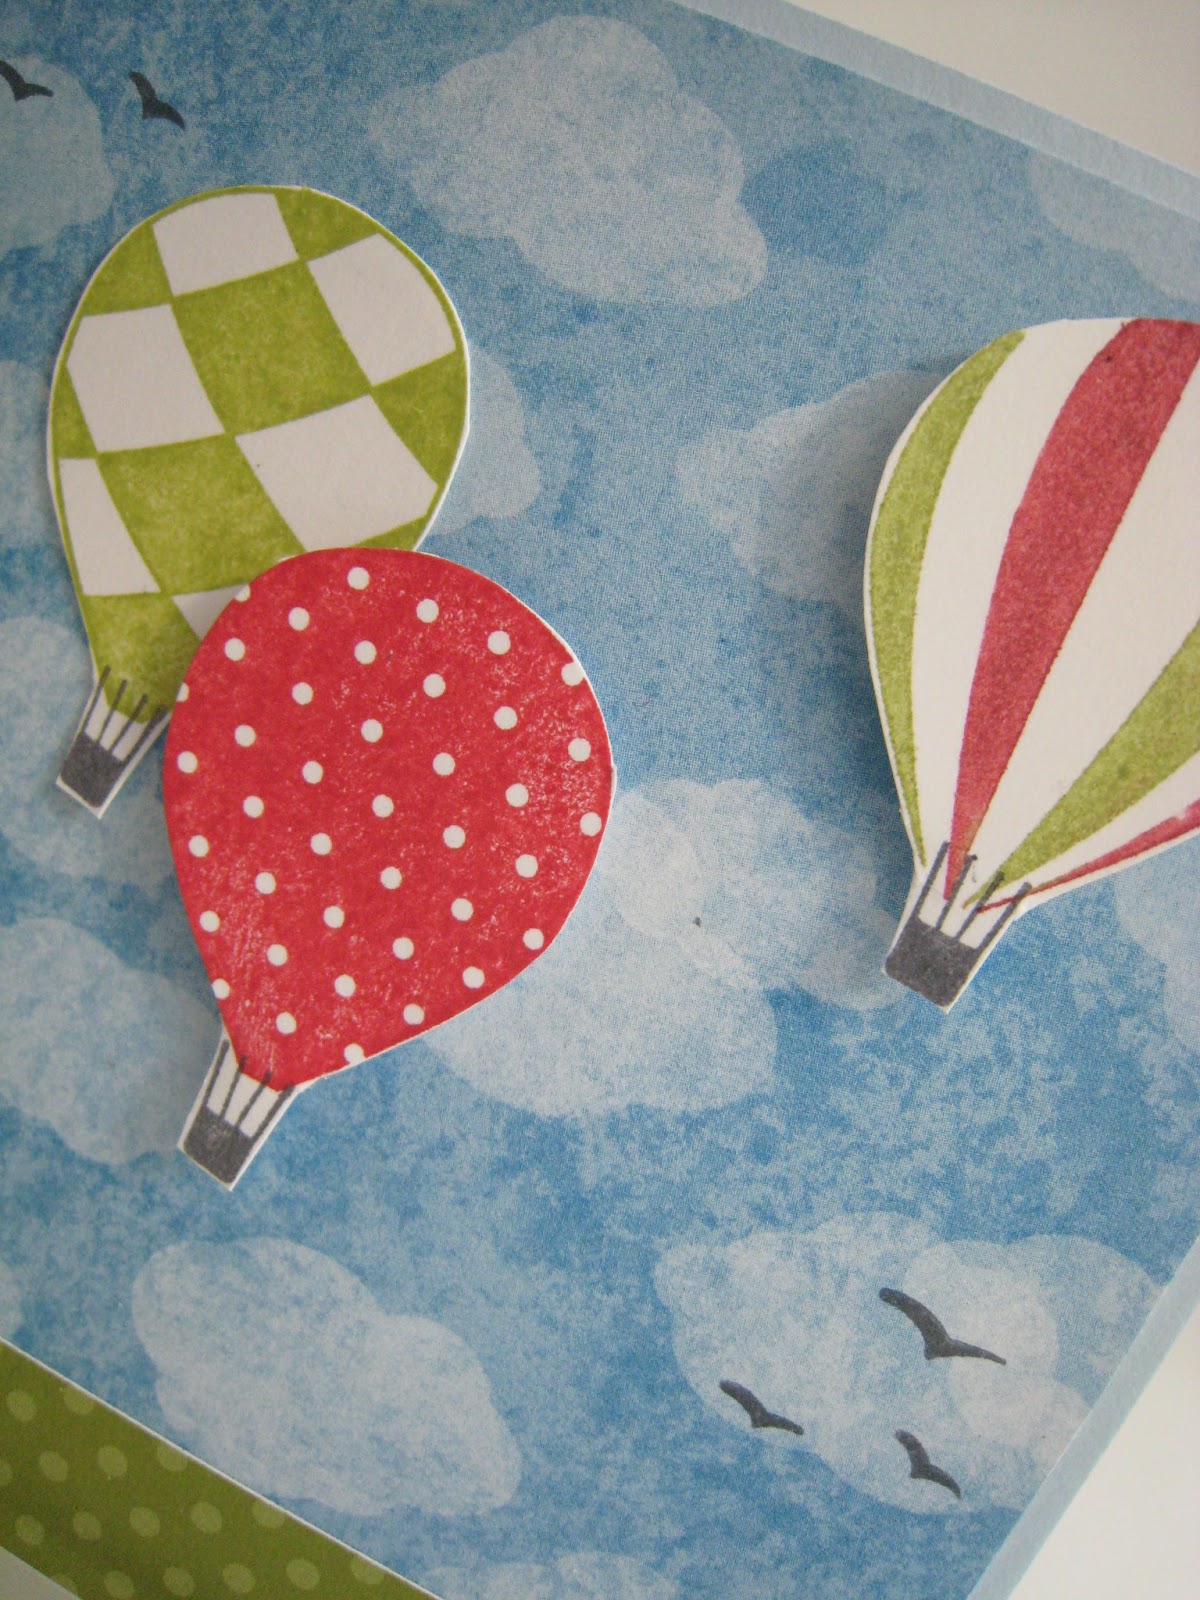
The second card uses the Up Up and Away stamp set which is retiring next month!  This card would be suitable for anyone of any age I think. The cloudy background paper is from the Sunshine and Sprinkles designer series pack - one of my favourites. The sentiment was stamped onto a strip of Vellum card and wrapped around.


Products used:
Stamps: Up, Up and Away, Perfectly Penned
Ink: Basic Grey, Real Red, Lucky Limeade
Markers: Real Red, Lucky Limeade
Card stock: Bashful Blue, Whisper White, Vellum Card
Papers: Lucky Limeade from Designer Series Paper Stack, Sunshine and Sprinkles

The third card we made features the very popular owl punch! Most people who use this punch want one for themselves and I have sold a few in the last few weeks. This card is so cute with the owl peeping through the hole and the wood effect background paper is really effective.


Products used:
Stamps: Teeny Tiny Sentiments
Ink: Rich Razzleberry
Card stock: Rich Razzleberry, Gumball Green, Early Espresso, Crumb Cake, Whisper White
Papers: Natural Composition, First Edition
Punches: Owl Builder,Bird Builder, Circle, Scallop Circle, Word Window, Modern Label

After a break for a cuppa and some cake we sat down and did this shirt and tie card involving some relaxing origami to make the folded tie. It looks more complicated than it really is - which is always the best way round I think!


Alex personalised her card for her step dad with my Notable Alphabet stamps - and I copied her idea and did one for my step dad too.


Products used:
Stamps: For my Family, Notable Alphabet
Ink: Midnight Muse
Card stock: Midnight Muse, Very Vanilla
Papers: Sahara Sand from Designer Series Paper Stack Subtles
Other: Mini Brads, Word Window Punch, Modern Label Punch

Well hope you like the cards,  My class next month will be summer themed - think hot colours, summer flowers and garden parties, see the classes and events page for details and contact me to book your place.

Kylie x


Tuesday, 9 April 2013

Hello baby

I seem to be making at least one baby card a week at the moment!  There's a lot of Spring babies this year!!     Here are three cards I have recently made.  I need to make a pile of these to have on hand for future requests!


Supplies used:
Stamps: Four Frames, Teeny Tiny Wishes, Fox and Friends (Retired)
Inks: Pretty in Pink, Baja Breeze
Card Stock: Whisper White, Baja Breeze, Daffodil Delight
Papers: Subtles Designer Paper Stack
Punches: Itty Bitty, Decorative Label, Circle, Scallop Circle
Equipment: Perfect Dots Embossing Folder
Embellishments: Taffeta Ribon, Bakers Twine, Itty Bitty Buttons, Pearls

Thursday, 14 March 2013

Anniversary card

I love the You are Loved stamp set. It's not just for valentines cards but is really great for weddings, anniversaries or any card for that someone special.  It's a well used set!


For this card I heat embossed the heart design with gold embossing powder on Pool Party card stock. It creates a lovely raised metallic effect. The Crumb Cake background is stamped with the En Francais background stamp with Crumb Cake ink.


The sentiment is from the Teeny Tiny Wishes set and an antique brad and linen thread finish off the card.

Products used:
Stamps: You are Loved, Teeny Tiny Wishes, En Francais
Card stock: Pool Party, Crumb Cake
Inks: Crumb Cake, Versamark
Other Gold embossing powder, heat gun, antique brad, linen thread, Word Window punch


Thursday, 14 February 2013

Love is in the air!

Hello again!  Today I wanted to share some valentines creations.  I gathered so many great ideas for love cards this year, and had planned to make a big boxful to take to work to sell to my colleagues.  But as usual I spent so much time looking at pictures of other people's cards on the internet and pinterest, that I ran out of time to actually make any for myself!!  Does anyone else do that?  Please don't say I'm the only one!!

But I did manage to make a card for my husband Paul.  Actually I made three!

The first one I rejected straight away - I don't like it.  I'm no perfectionist but this is too wonky even for my standards!  And I feel I ruined the simple but effective design by stamping the heart over the sentiment - I thought it looked better without that extra detail.


For the second card I went for a 'clean and simple' design.  The stamp is from the set You Are Loved and I heat embossed it with black embossing powder giving it a raised glossy effect.  I think the red butterfly adds just enough colour, but does it make it too feminine?


My third card I have called Heart-tastic! It uses mainly products from the Spring/Summer catalogue, including More Amore papers, Hearts a Flutter stamp set and framelits, and the Honeycomb embossing folder. The sentiment is from Teeny Tiny Banners.


So, now to decide which one I'll give to Paul!

Happy Valentine's day to you!

Kylie x


Monday, 18 June 2012

Fathers Day Card

A quick post just to show you the father's day cards I made this weekend!  I wanted to try out the cute origami shirts I have seen online - I searched for a tutorial on you tube and found they were really straightforward!

The shirt is made from lovely striped paper from the Mocha Morning designer series.  The background is stamped using the 'Dad' from For My Family and the sentiment is from the very versatile Teeny Tiny Wishes set - which has a stamp for nearly every occasion!!


Products used:
Stamps: Teeny Tiny Wishes, For My Family
Inks: Crumb Cake, Early Espresso
Papers: Mocha Morning DSP
Card stock: CrumbCake, Old Olive
Ribbons: Old Olive Grosgrain, Twill Tape
Punches: Curly Label, Word Window


Monday, 7 May 2012

Fancy a cuppa?

So I got my big box of goodies delivered on Friday.  I had a busy weekend making a stack of cards commissioned by friends (pictures of these to follow...), but I managed to make 2 cards using the new products from the Summer Mini Catalogue.

The first uses the Tea Shoppe stamp set and new Framelits dies.  It's a fairly simple one - I needed a change from some of the more elaborate and labour intensive cards I've been making for my friends!!


It also uses the flourish from Everything Eleanor to make the steam coming from the teacup! The 'steam' is stamped sraight onto the card base and a window was cut out of the very vanilla using the framelits and then embossed.The sentiment is from Teeny Tiny Wishes.


Stamps: Tea Shoppe, Everything Eleanor, Teeny Tiny Wishes
Cardstock: Crumb Cake, Very Vanilla
Inks: Crumb Cake, Regal Rose
Equipment: Framelits dies, Perfect Dots embossing folder, Word Window punch
Others: Pearls and Chantilly Lace Trim

Tuesday, 17 April 2012

4 Today!

My niece Emily is 4 years old today!  Here is the card I made for her...


I stamped the ice cream using stamps from Create a Cupcake and Pennant Parade sets, and punched out the ice cream and cone with the Cupcake Builder and Petite Pennants punches.  I used my Big Shot to die-cut the number 4.  The papers are the Cheerful Treat designer series papers (an exclusive hostess product).  Colours are melon mambo, wisteria wonder and whisper white.

Happy Birthday Emily!

Sunday, 15 April 2012

A male birthday card

I always find male cards much more of a challenge to create than for the ladies.  I recently had to make a card for a male friend, and I just didn't think cars, bikes, planes, ships or footballs weren't going to do it. 

But he is a keen geographer and I remembered I had some old Stampin' Up! papers which would be perfect!!


The gorgeous old map paper is from the Newsprint Designer Series Papers which is unfortunately retired (but the First Edition series in the current catalogue is just as nice!).  The sentiment combines stamps from the Teeny Tiny Wishes and the For My Family sets and I also used the border from Four Frames stamp set and the matching decorative label punch.  The colours are basic black and very vanilla.  The card was finished off with some striped grosgrain ribbon and brads in the corners - see how the corners have been cut out with the circle itty bitty punch - a technique I learnt in one of Julie Kettlewell's Stamp-a-Stack classes!